SensoTimer ST 6 ecologic
The intelligent SensoTimer ST 6 ecologic watering computer is based on the water demand of plants and waters with humidity control using a radio sensor.

The SensoTimer ST 6 is activated by a humidity control sensor that measures the soil’s moisture value, transmitting this information every 30 minutes to the SensoTimer. You can choose between five moisture levels to suit your garden, which automatically updates the SensoTimer sensor to make sure your garden’s moisture level never falls below its desired value. Essential for maintaining your garden, programming the ST 6 is simple thanks to an easy to use, removable battery powered control panel featuring five, easy to use control buttons including a 24hr pause button to suspend watering. You can set up to two watering times a day, for a maximum duration of 90 minutes, and use your water source manually at any time. By selecting the ecologic function, watering can be delayed by 1 to 7 days so you never have to worry about your garden when on holiday or on damp days.
Features and benefits
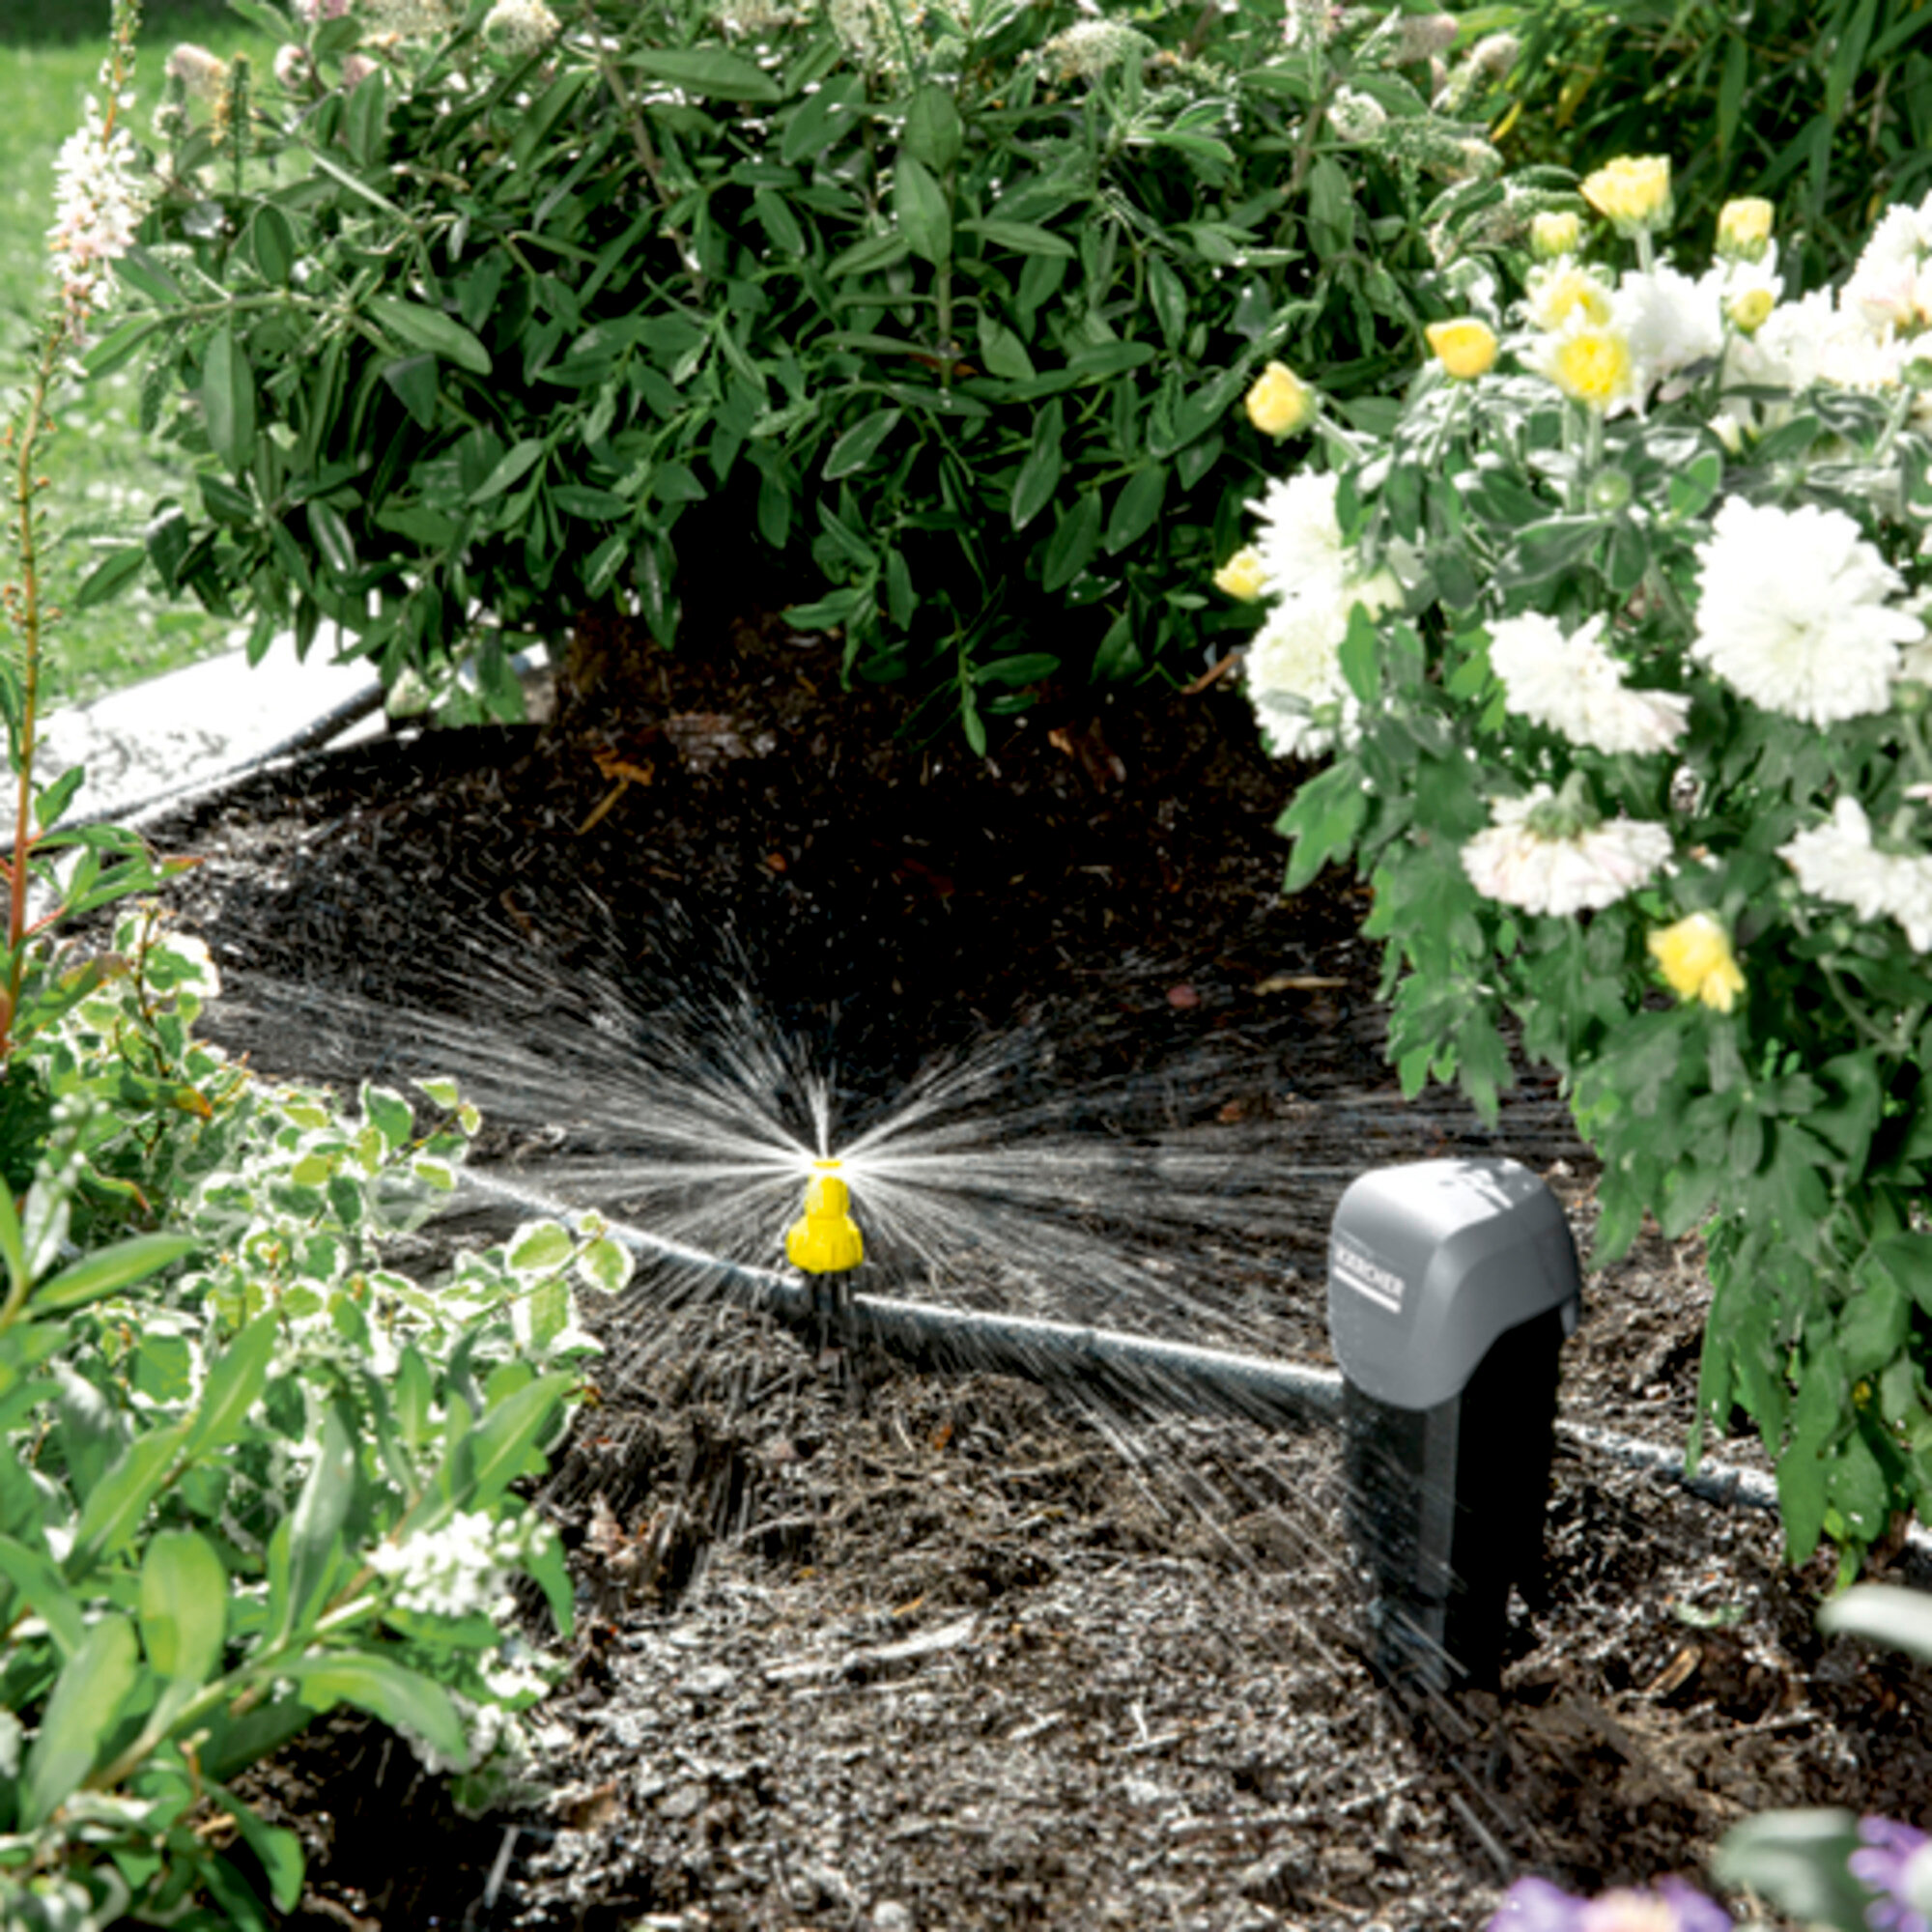
Moisture controlled watering
Efficient, water-saving and need-based watering of plants.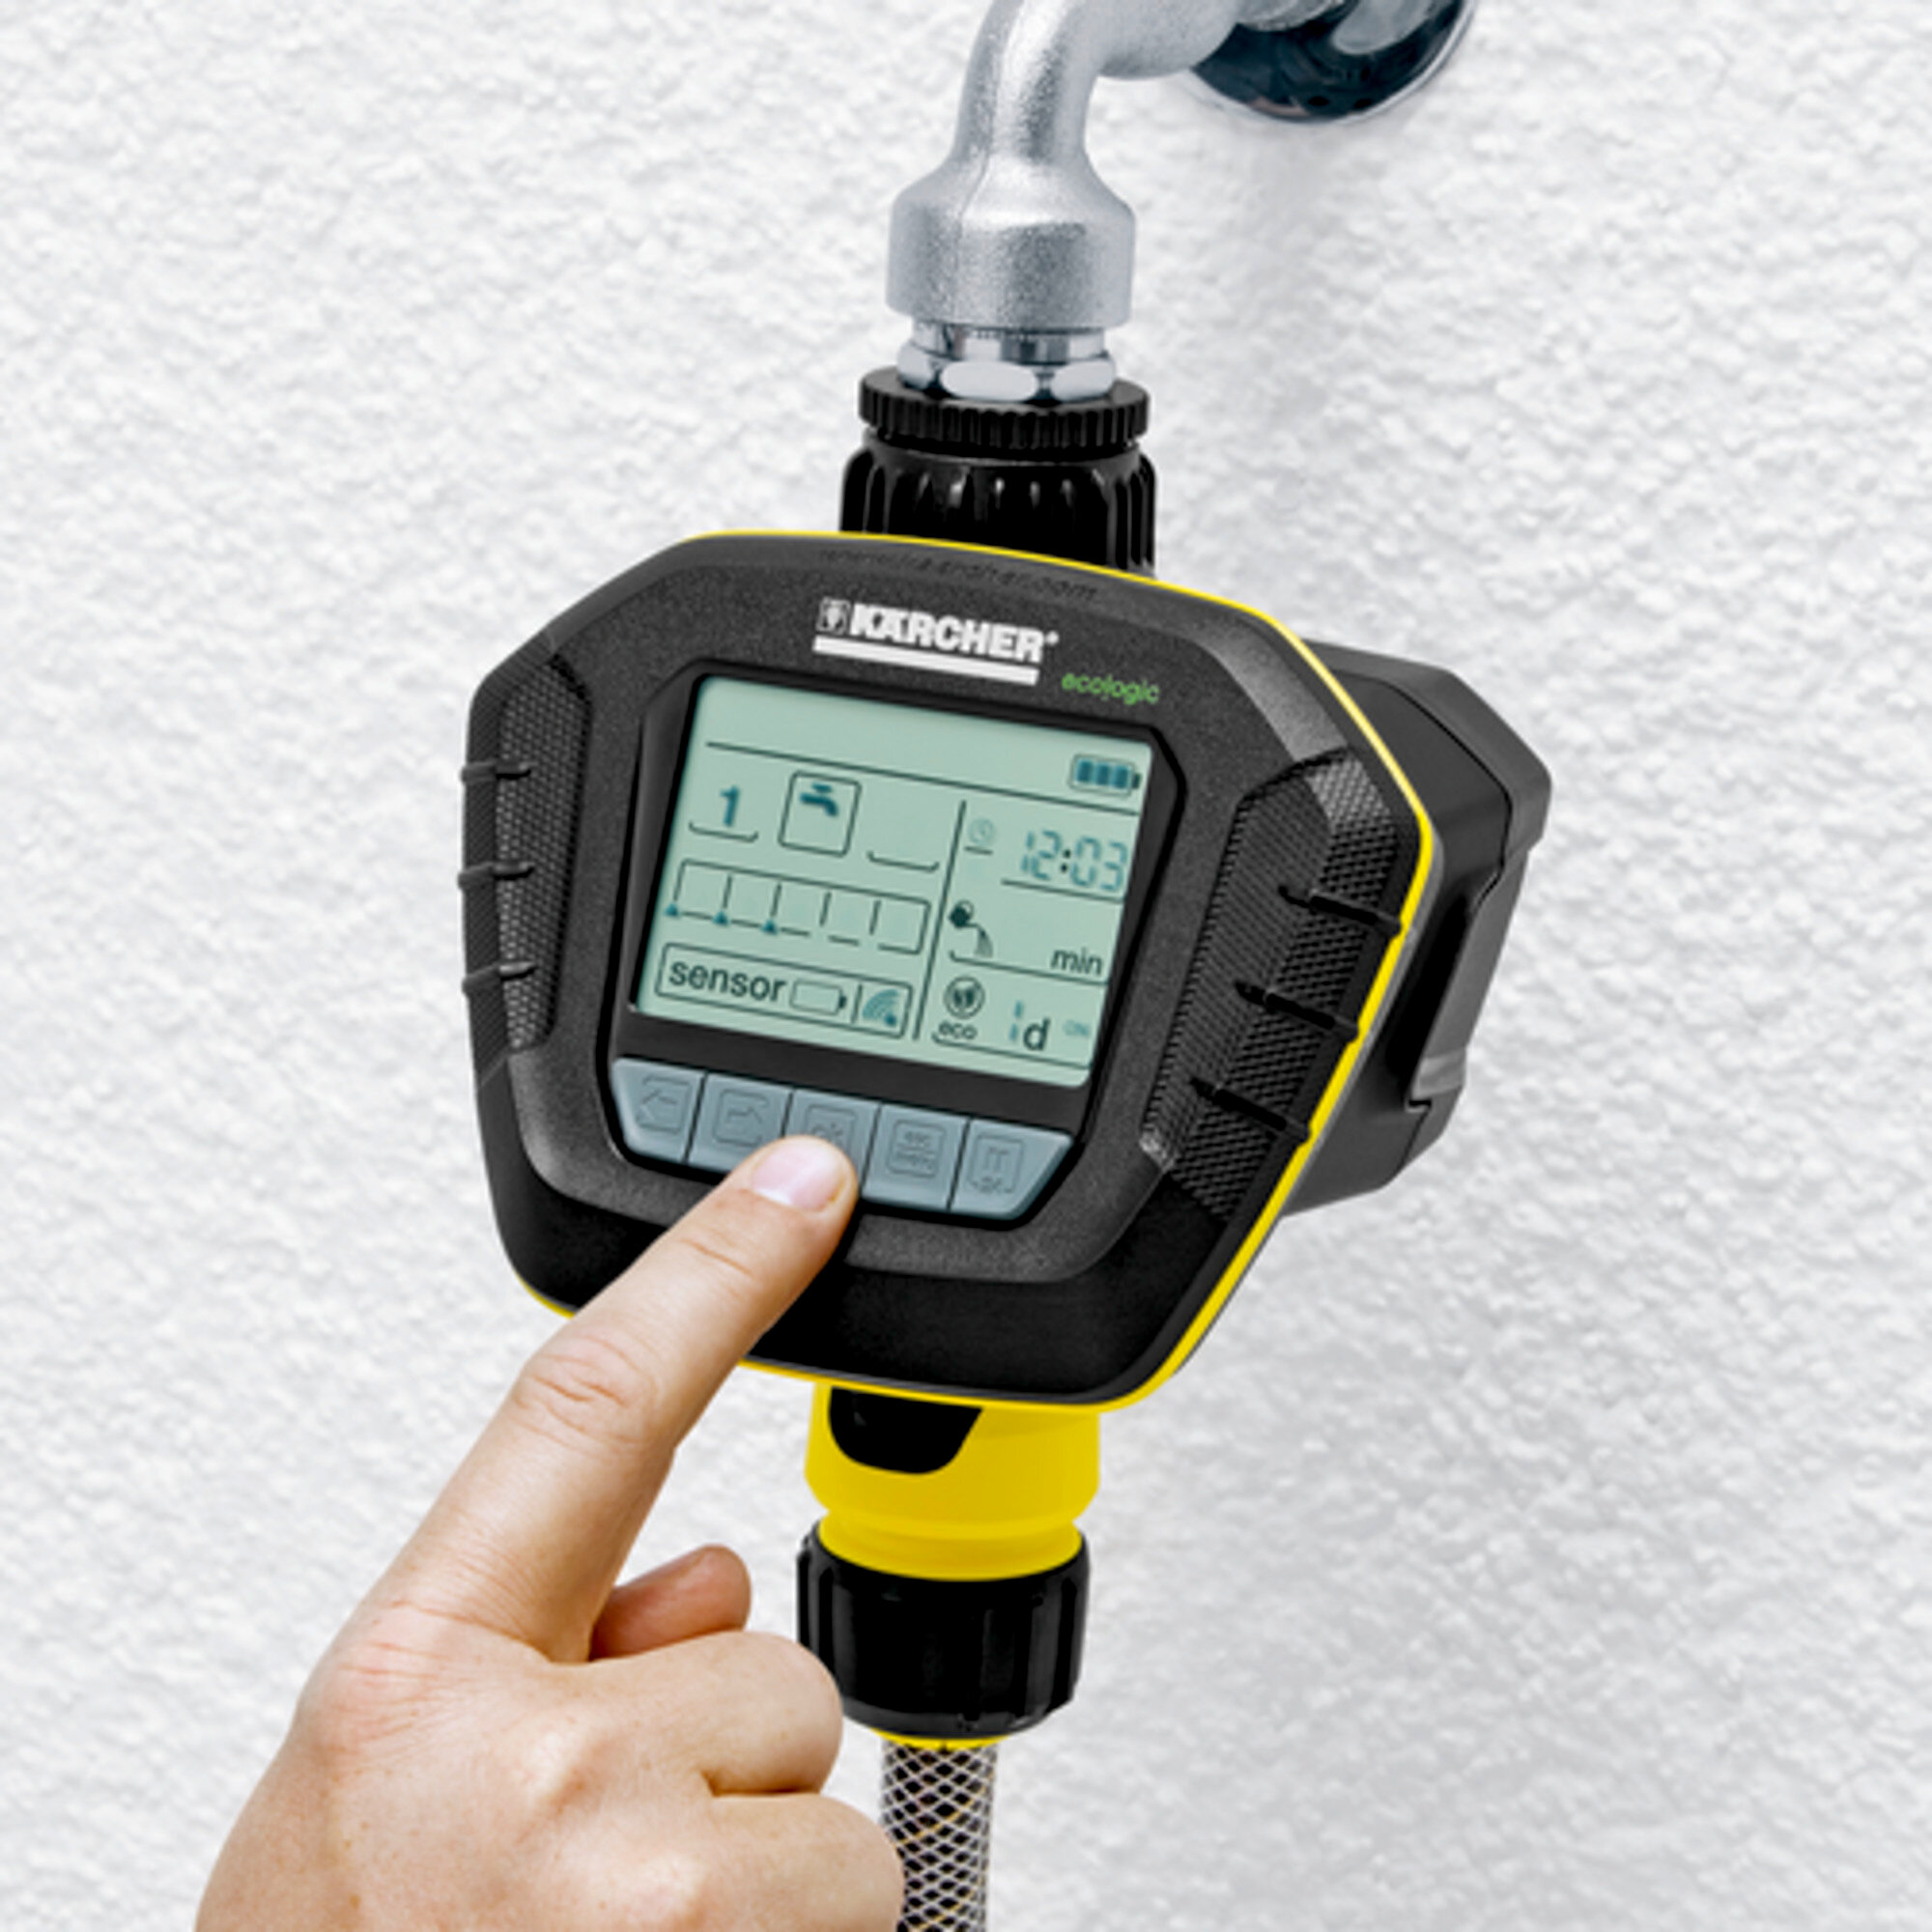
Individual setting of watering frequency
Need-based watering.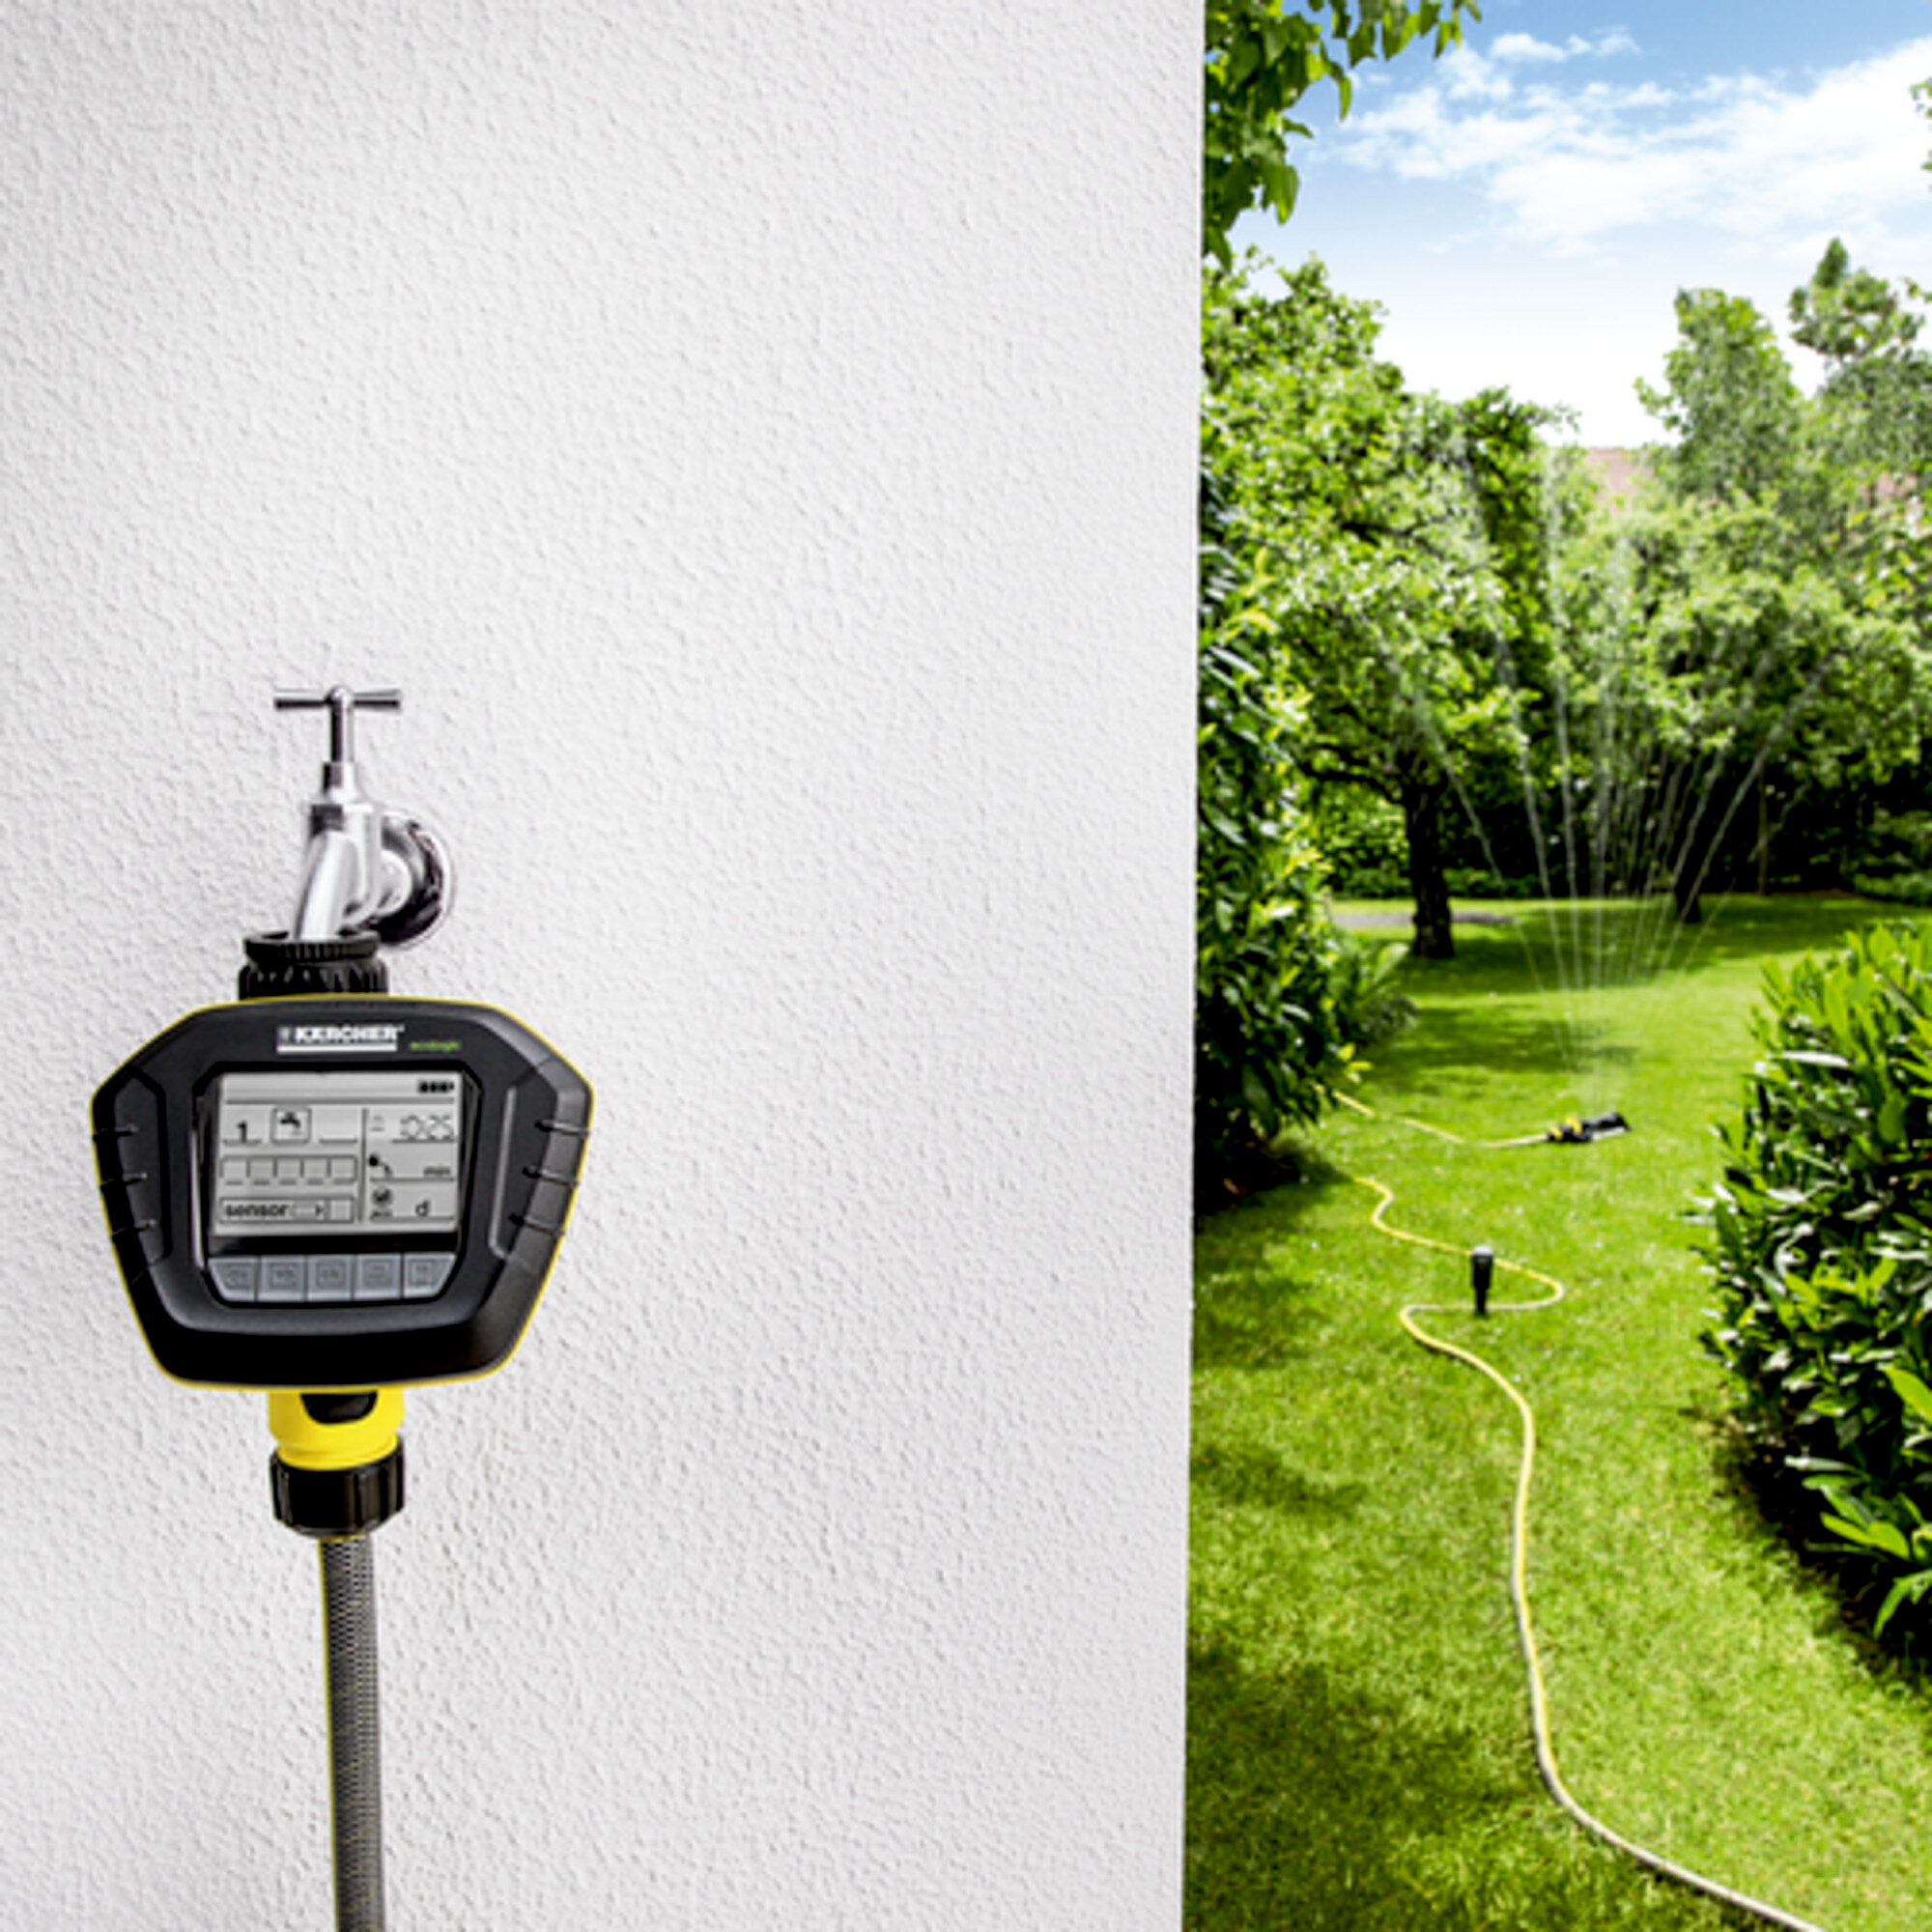
Automatic On/Off
Targeted watering.Removable display
- Convenient programming.
Button to switch watering off for 24 hours
- Interruption of watering for 24 hours.
Manual watering possible
- Short-term water removal.
Specifications
Technical data
| Connecting Thread | G3/4 + G1 |
| Max. Pressure (bar) | 10 |
| Colour | black |
| Weight (kg) | 0.6 |
| Weight incl. packaging (kg) | 0.9 |
| Dimensions (L × W × H) (mm) | 96 x 137 x 153 |
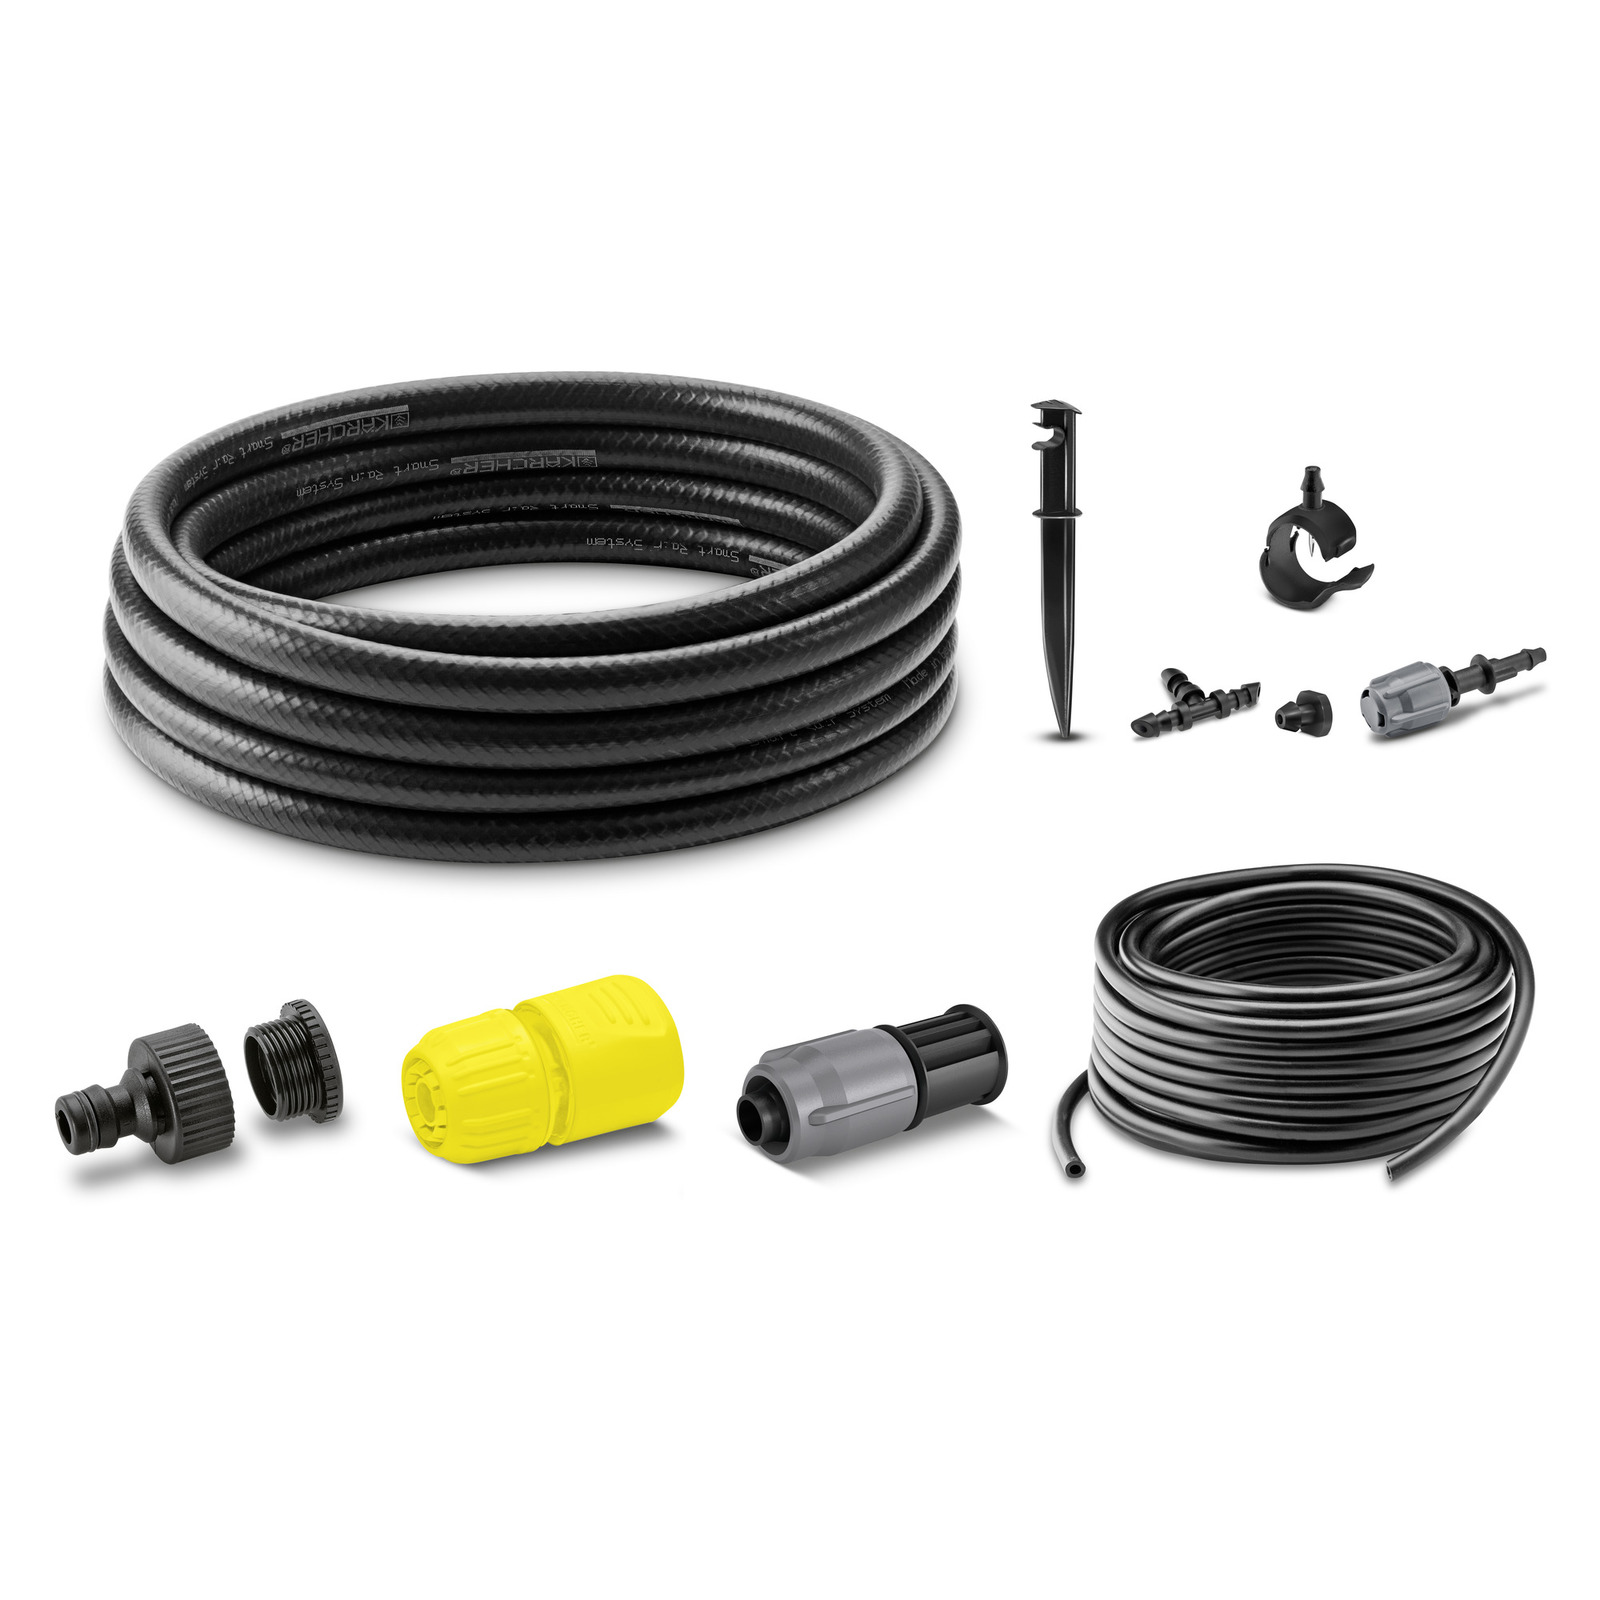
Scope of supply
- Moisture sensor: 1 Piece(s)
- Batteries included in the scope of delivery: no
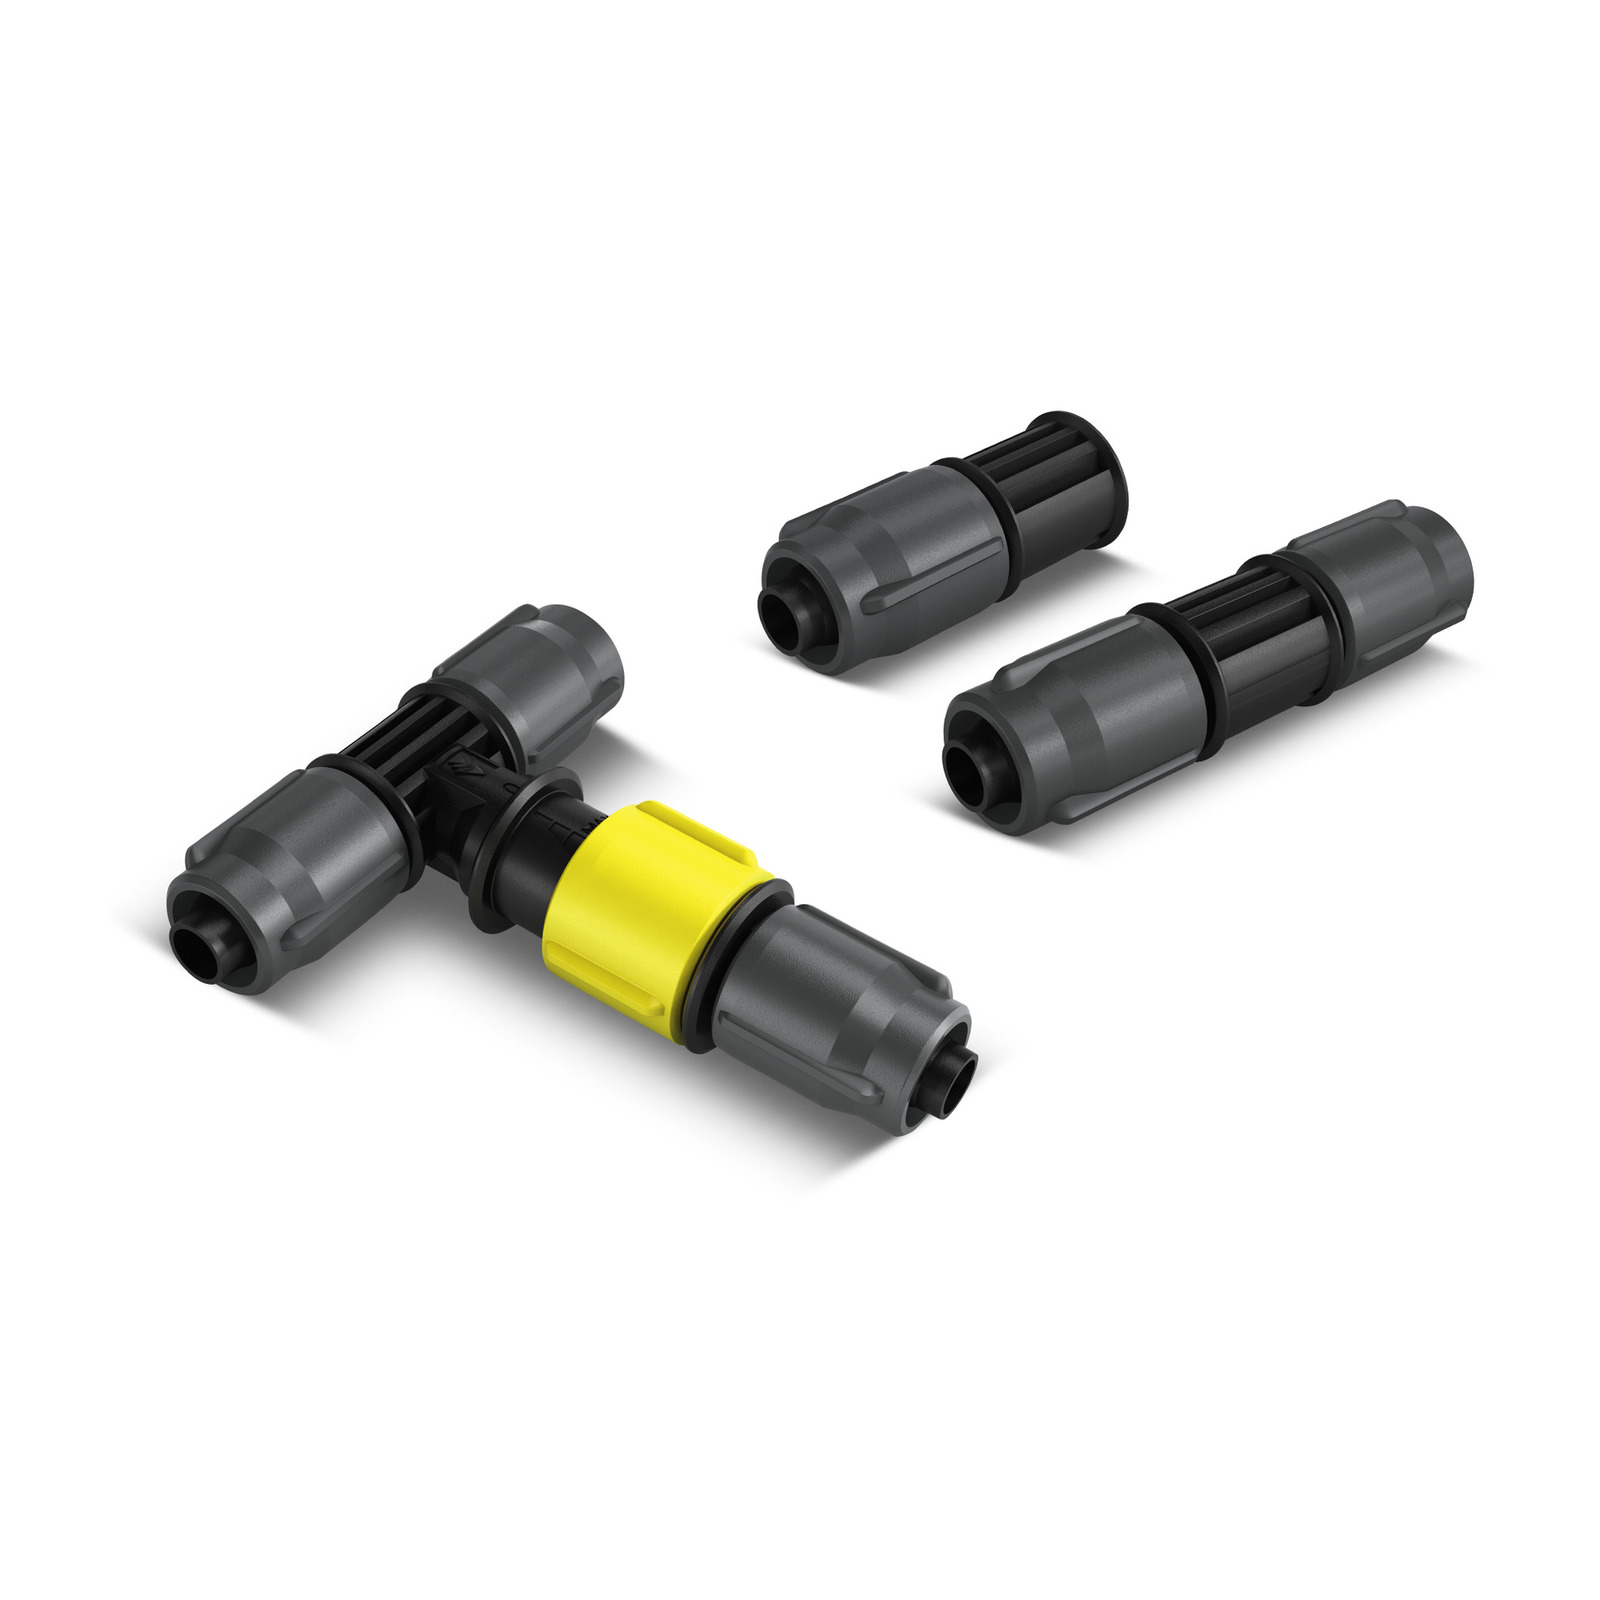
Equipment
- programmable water outlet: 1 Piece(s)
- Batteries required
- Number of batteries: 2 x 9 V Block
Videos
Compatible machines
Application areas
- Garden watering
Accessories
Find parts
Find parts & diagrams for your Kärcher cleaning equipment. Select “Find Parts” to begin your search or contact your authorized Kärcher dealer or retailer.