SensoTimer ST 6 Duo eco!ogic
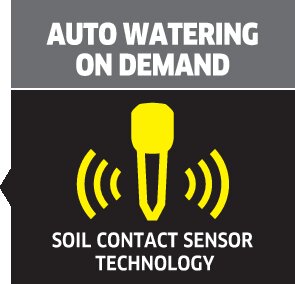
The intelligent water timer SensoTimer ST 6 Duo eco!ogic is based on the water demand of the plants and waters in a moisture-controlled manner with the help of 2 separate radio sensors.
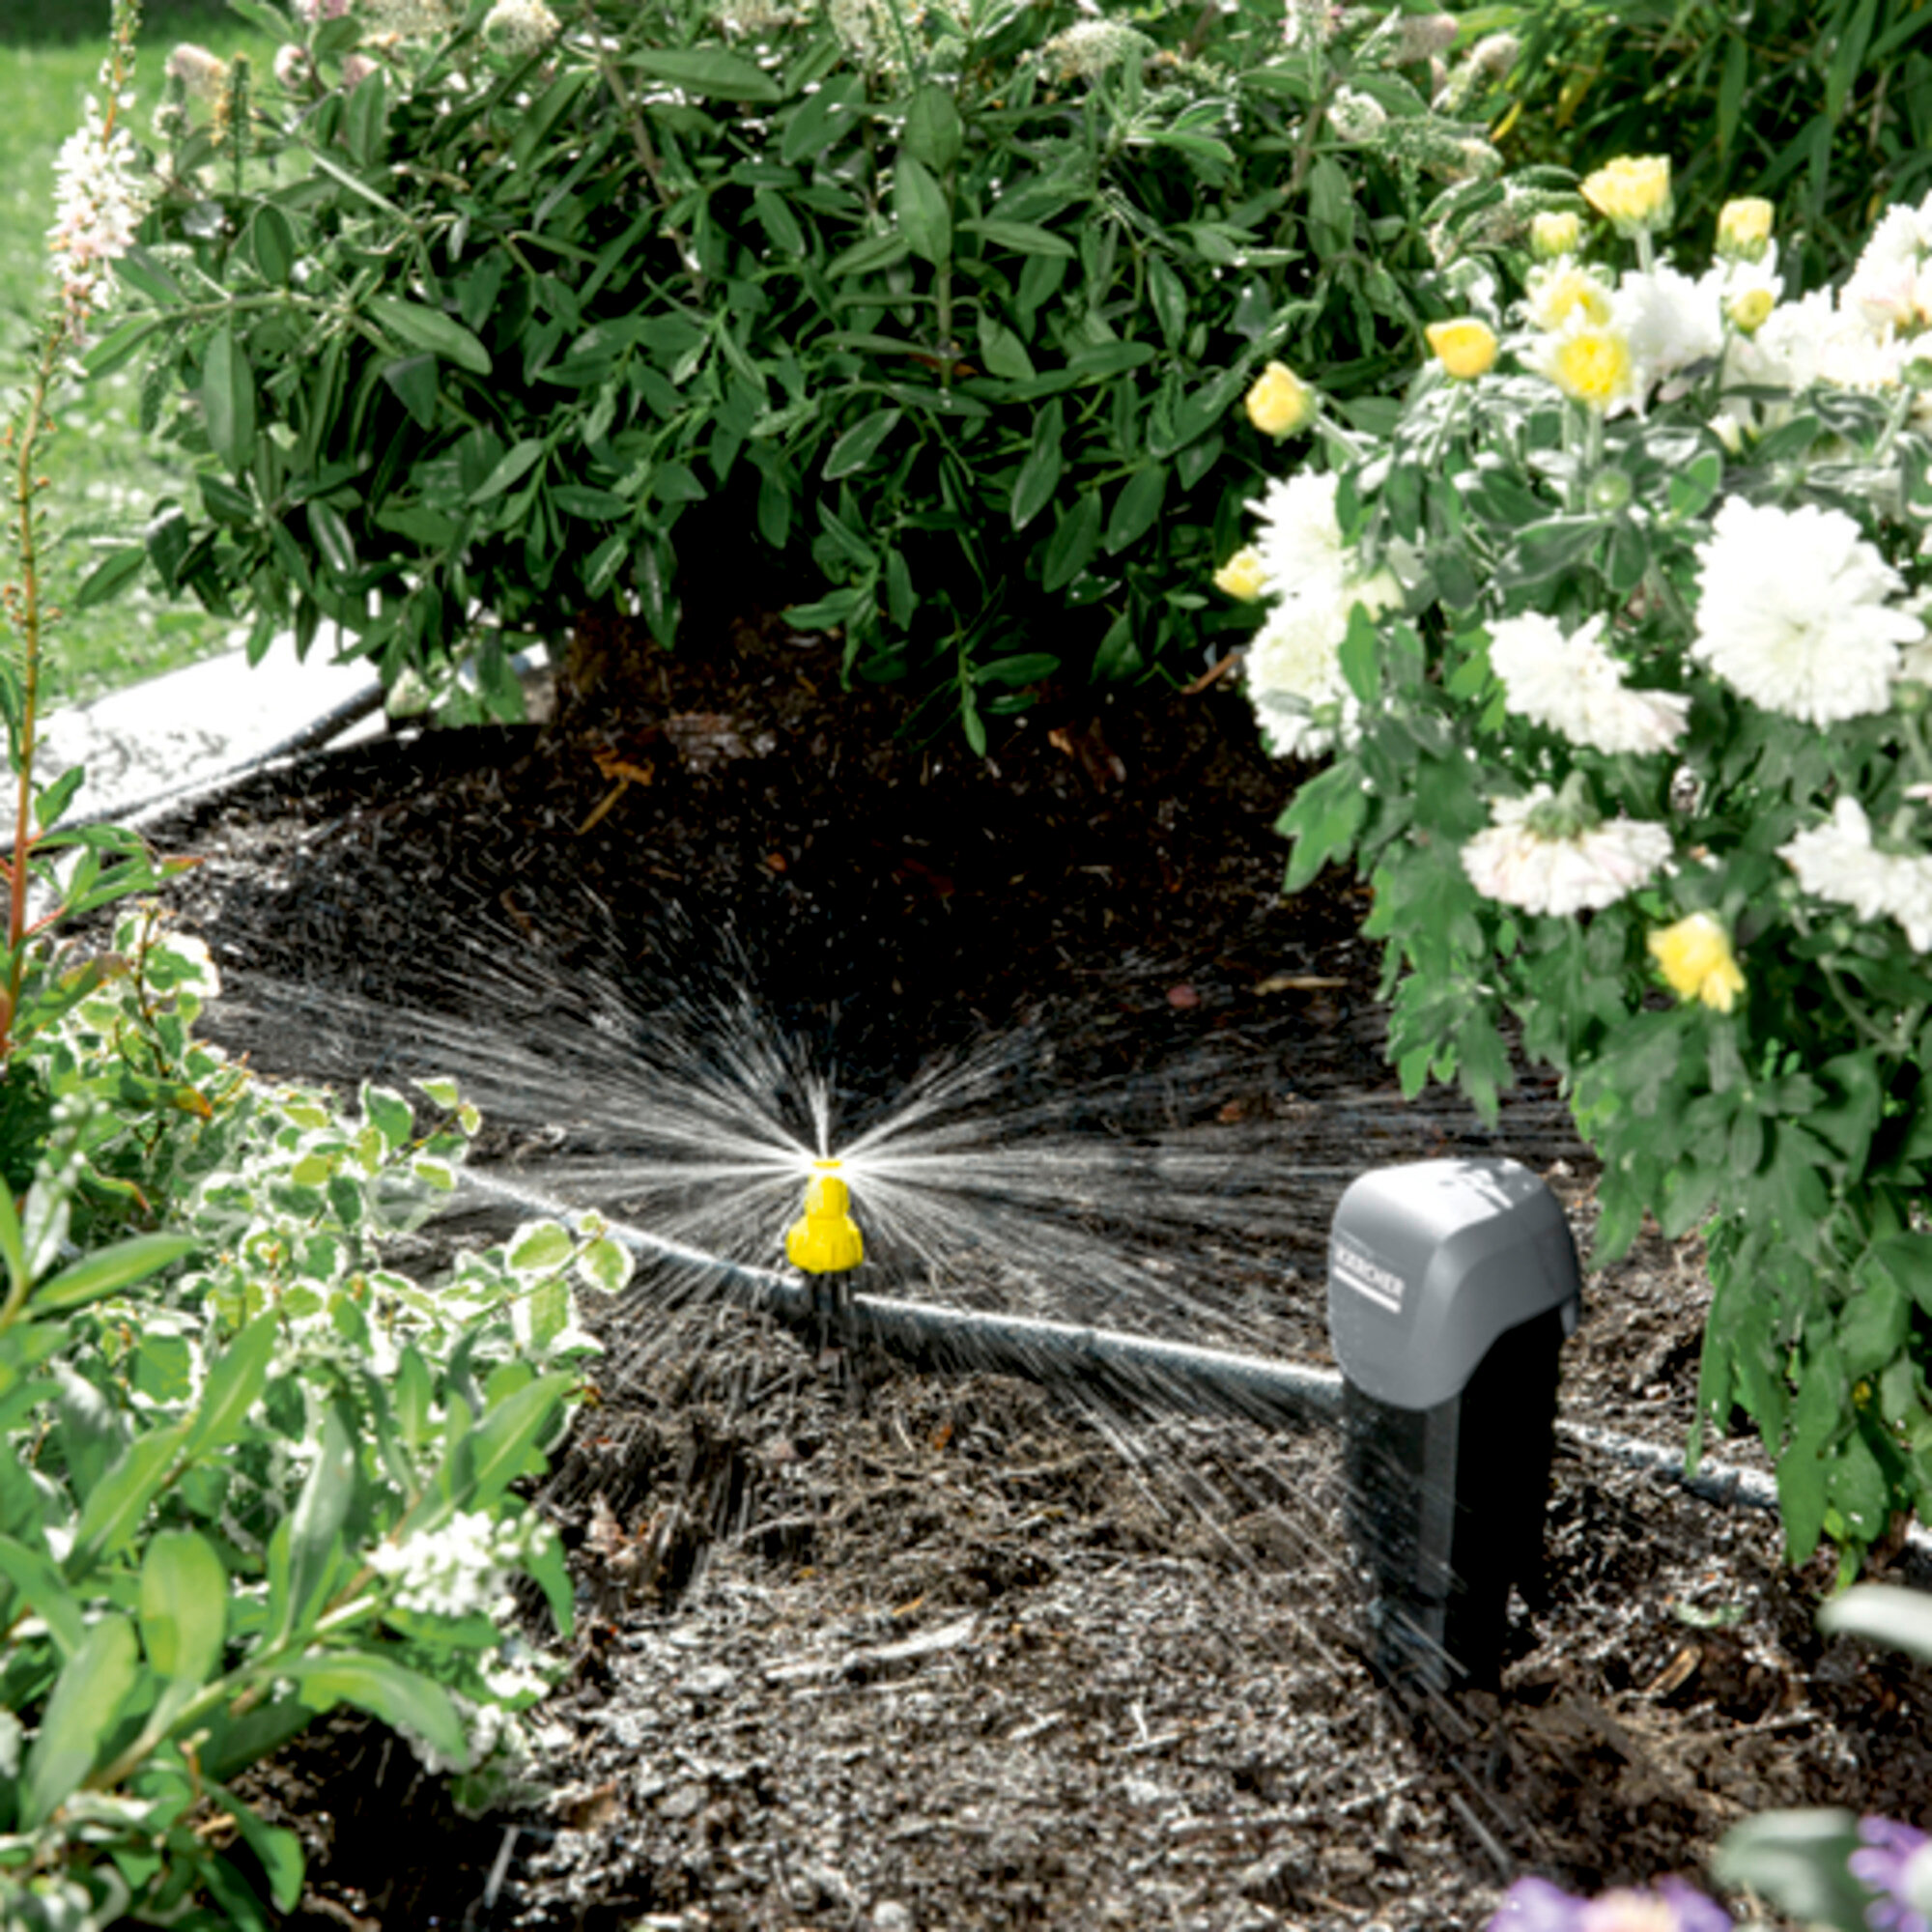
The SensoTimer ST 6 Duo eco!ogic with two independent water outlets waters in a moisture-controlled manner and on demand. The two sensors included in the scope of supply, one per outlet, measure the soil moisture and transfer the value by radio to the SensoTimer. The moisture values can be set in 5 stages. If the selected value is not reached, the watering automatically starts at the next set time. The detachable control panel and the 5 operating buttons make the programming a piece of cake. Up to two watering times can be set per day (max. watering duration: 90 minutes). Thanks to the eco!ogic function, the watering can also be delayed by 1 to 7 days. Manual watering is possible at any time. At the touch of a button the watering programming can be interrupted for 24 hours. The SensoTimer ST 6 Duo eco!ogic waters on demand and is compatible with all known hook-and-loop systems. Tap adapter and prefilter are included in the scope of supply, the required three 9 V batteries are not (one for the control panel, one each for the sensors).
Features and benefits
Moisture controlled watering
Efficient, water-saving and need-based watering of plants.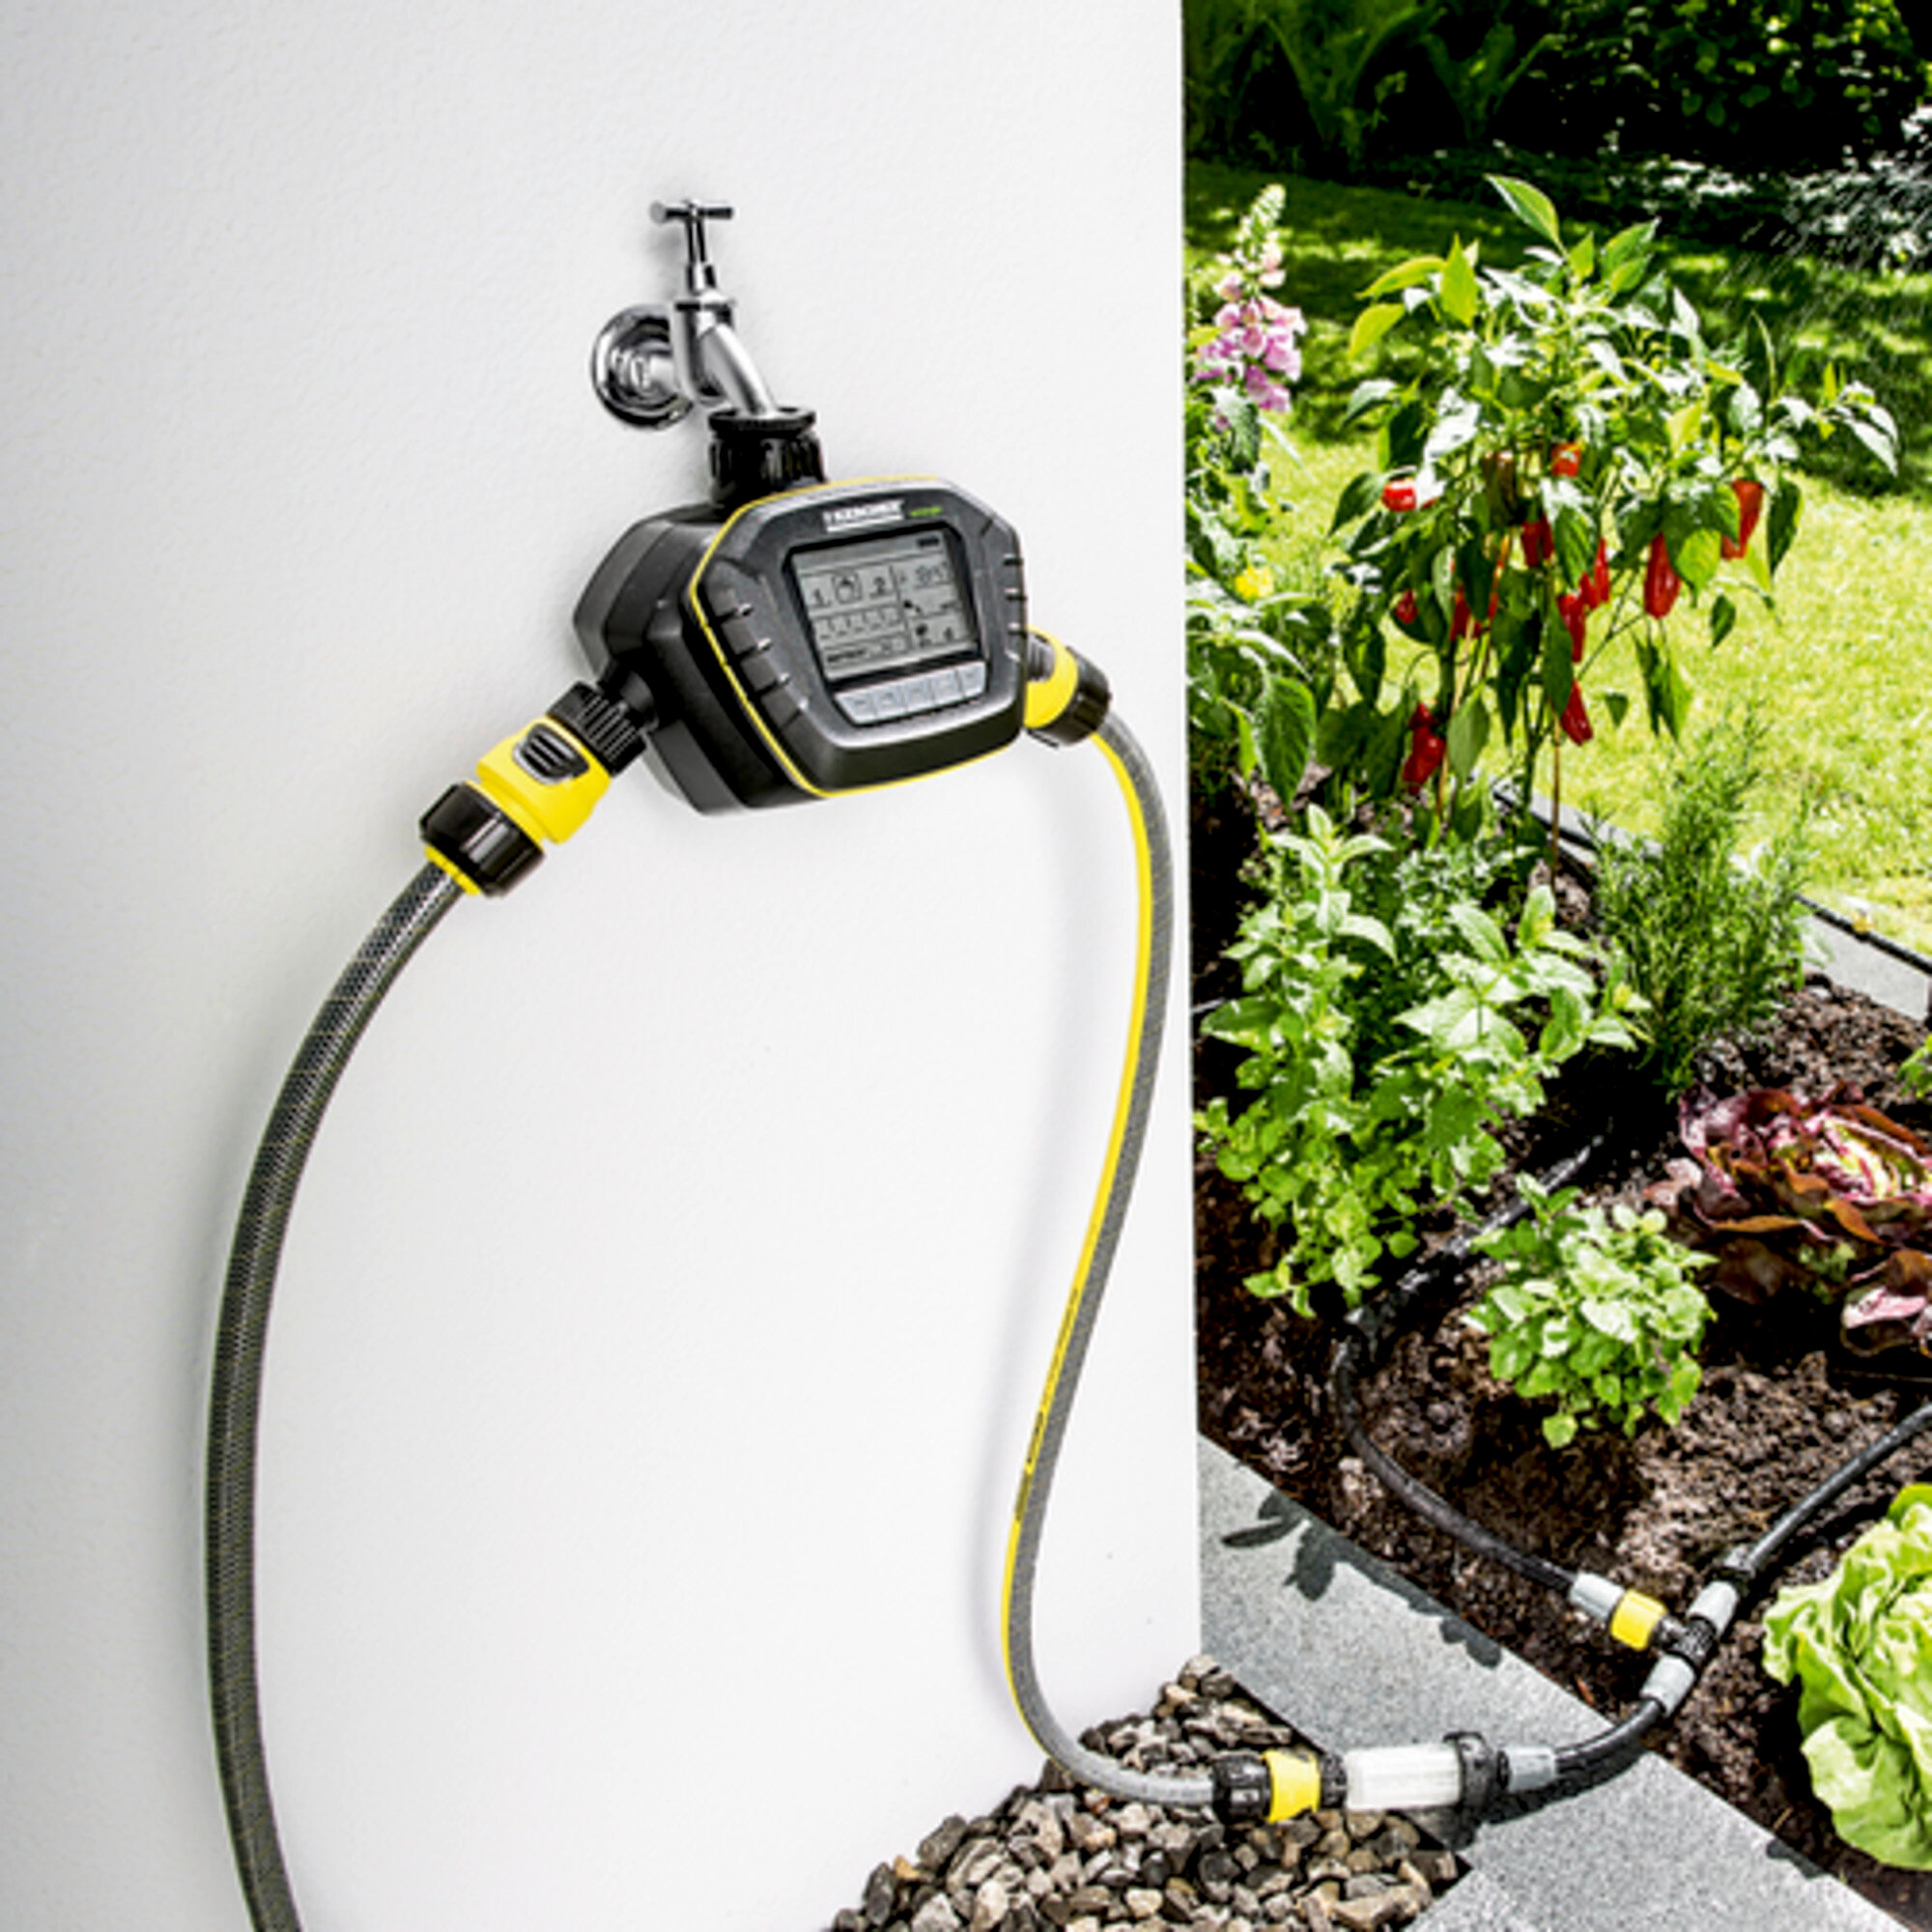
Two independent water outlets
Need-based watering of various microclimates.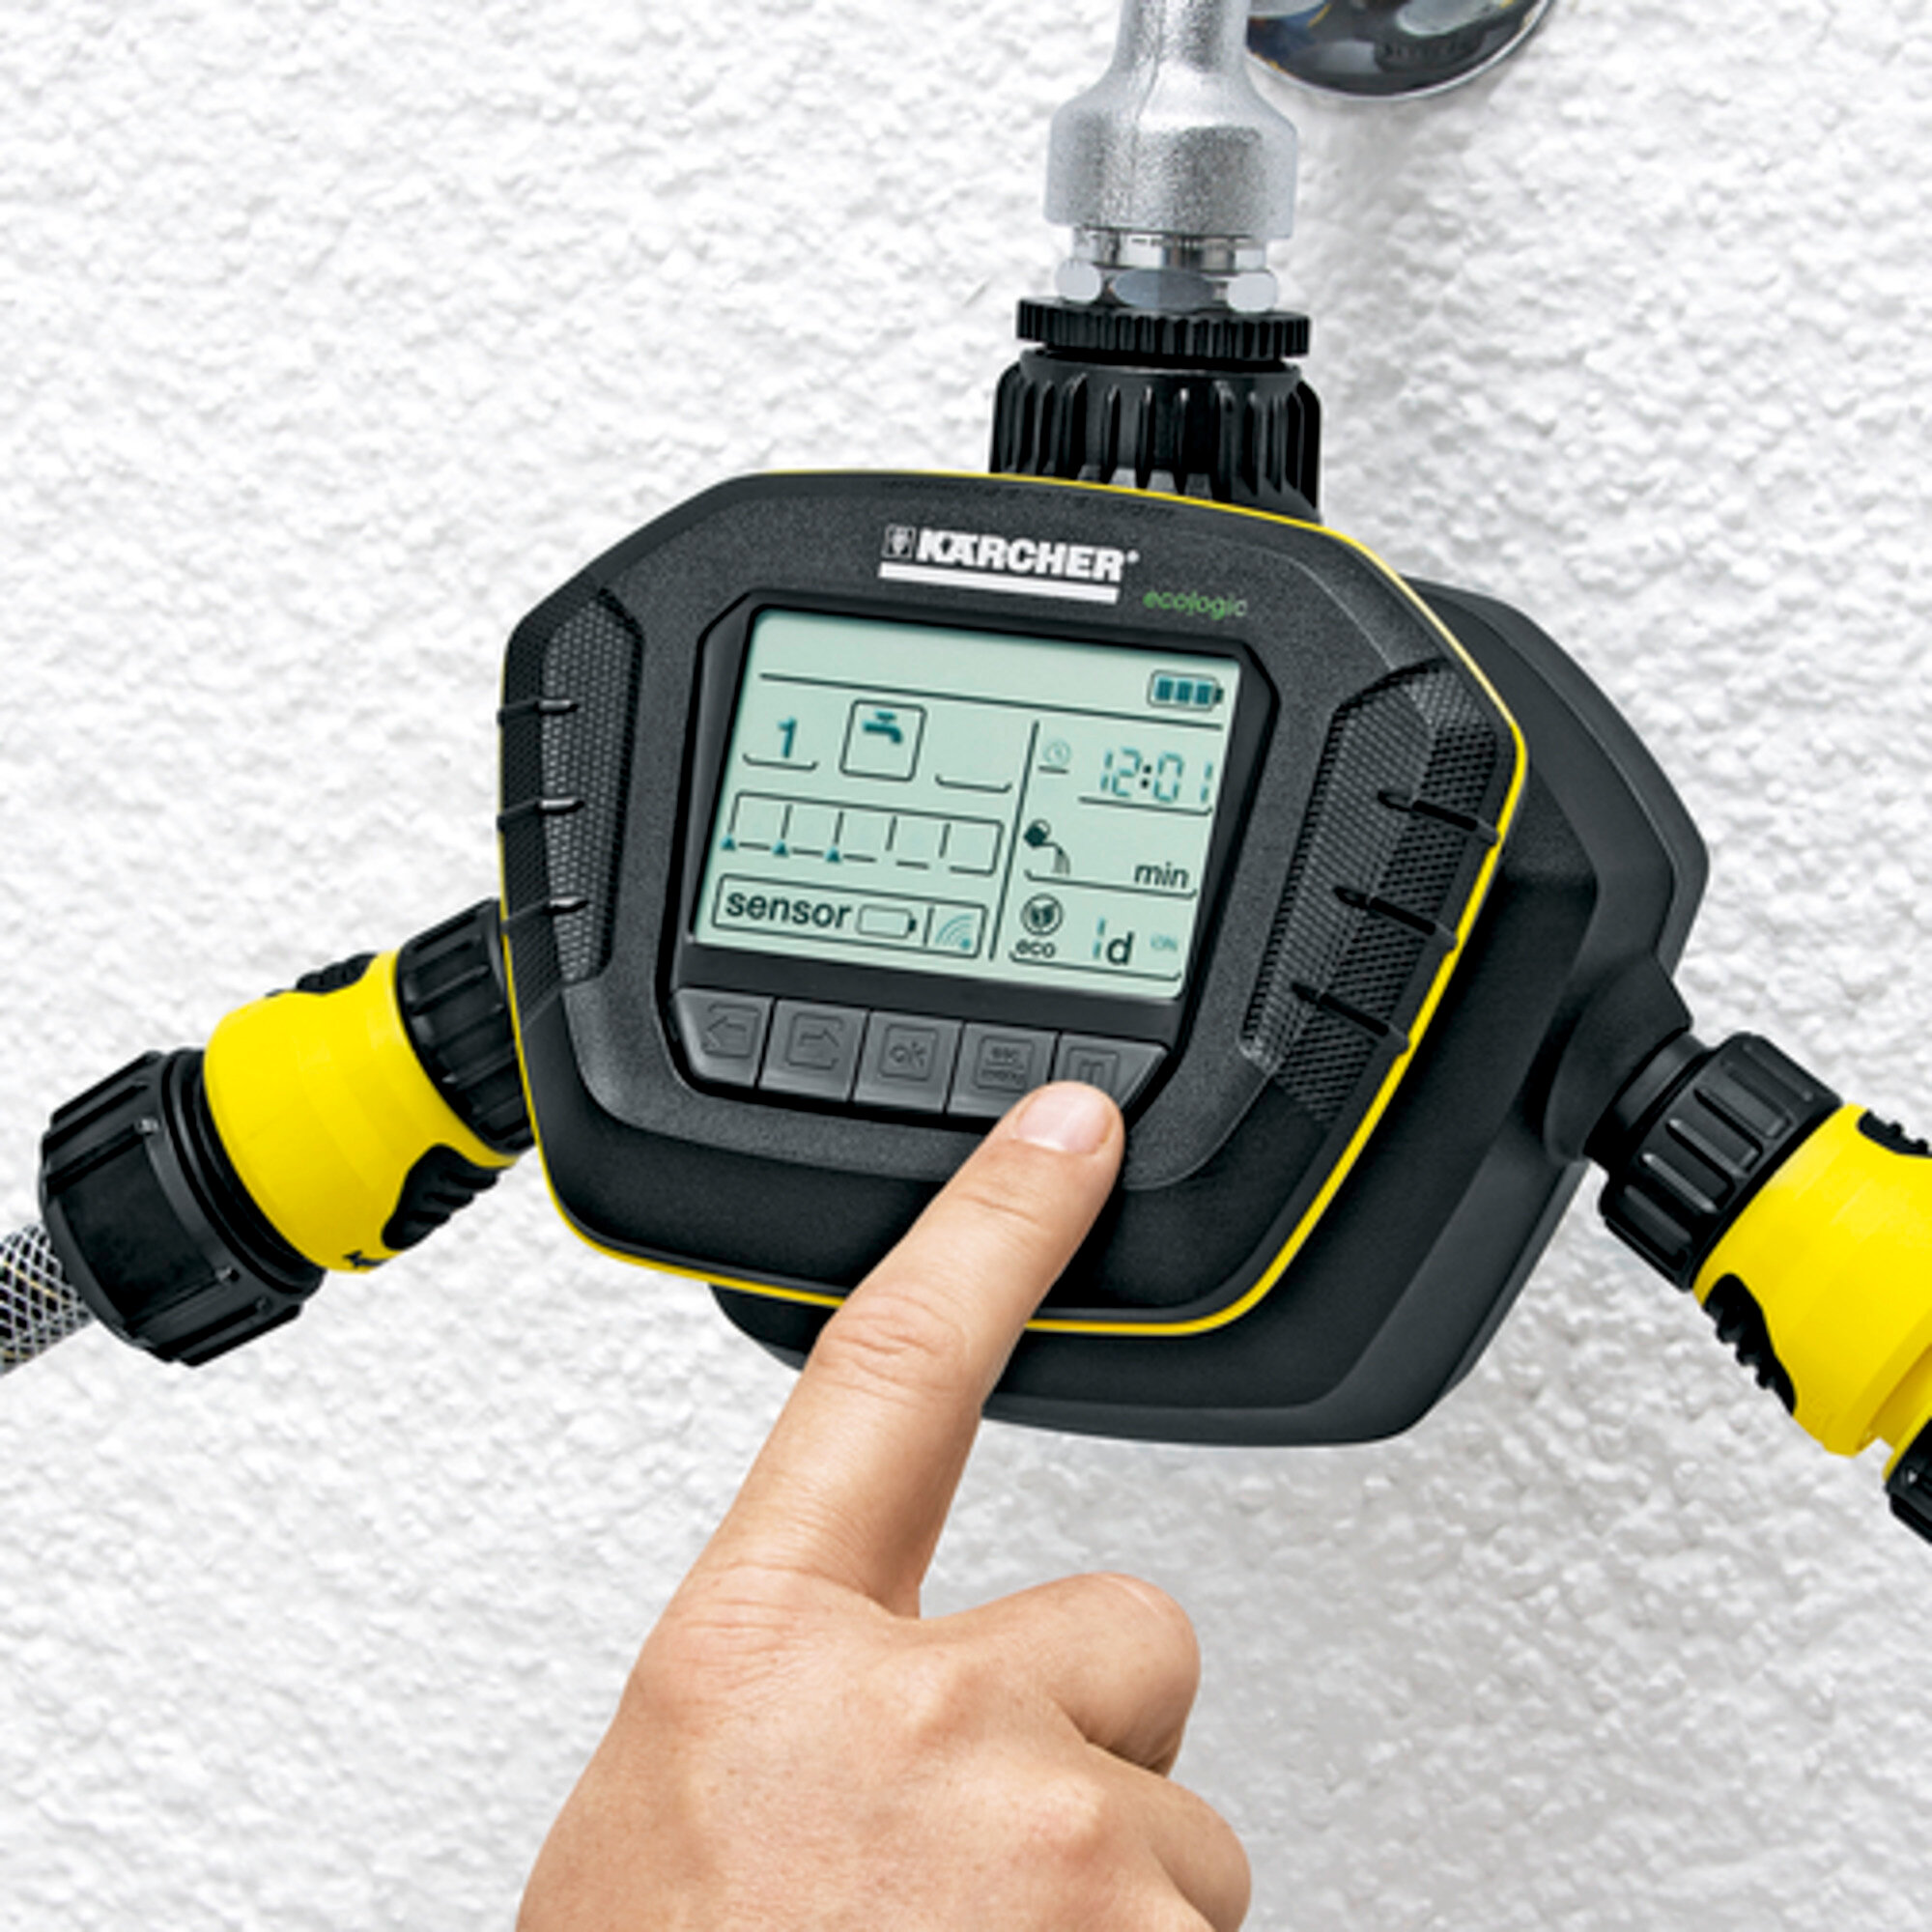
Automatic On/Off
Targeted watering.Removable display
- Convenient programming.
Individual setting of watering frequency
- Need-based watering.
Button for switching off watering for 24 hours
- Deactivates watering for 24 hours.
Manual watering possible
- Short-term water removal.
Specifications
Technical data
| Connection thread | G3/4 + G1 |
| Max. pressure (bar) | 10 |
| Colour | black |
| Weight (kg) | 1 |
| Weight incl. packaging (kg) | 1,3 |
| Dimensions (L × W × H) (mm) | 119 x 234 x 148 |
When connecting these products to the drinking water network, you must observe the requirements of EN 1717. If necessary, ask your sanitary specialist. Contains manomaterials.
Scope of supply
- Moisture sensor: 2 Piece(s)
- Batteries included in scope of supply: no
Equipment
- Programmable water outlet: 2 Piece(s)
- Batteries required
- Number of batteries: 3 x 9 V Block
Videos
Application areas
- Garden watering